
Window Replacement in Riverside, CA

Notes from the crew on window replacement and new window openings in older Riverside, CA houses, from stucco walls to summer glare.

What We Cover

Window Replacement in Riverside, CA

Most houses in Riverside, CA were built in waves, and the windows show it. A bungalow near the Mission Inn, a ranch house on the slope toward the Box Springs Mountains and a tract home from the seventies each carry a different frame, a different wall and a different set of problems behind the trim. Replacing a window here starts with reading which of those walls the crew is standing in front of.

Replacement against a new opening

Swapping a window in an existing opening is one job. Cutting a new opening where no window existed is another. The first is about the old frame: whether it is straight, dry and solid enough to take a retrofit insert, or whether it has to come out. The second is framing work, with a header sized to the span, cripples under the sill and a sill pan that sheds water to the outside. Older Riverside houses see both, often on the same wall.

Stucco, flashing and what is behind them

Stucco over paper and wire lath is the common wall here. A window with a nailing fin means cutting the stucco back, taping the fin in order from sill to head, and building a return that matches the old texture. Water finds the one gap that was left open, so the flashing tape and the sill pan matter more than the glass inside the frame.

Heat, glass and frames

Summer afternoons in Riverside County load the west and south walls hard. Low-E glass, a lower solar heat gain number and a frame that does not bow in the sun all come into the choice, and the shade of a tree by the Santa Ana River or the openness of a street near Fairmount Park changes the answer for each wall.

Guides

The pages here cover retrofit inserts against full frame removal, stucco and the nailing fin, adding a new opening, glass and frame choices for Inland Empire heat, what turns up behind old trim, and how long an install day runs.

Latest Guides

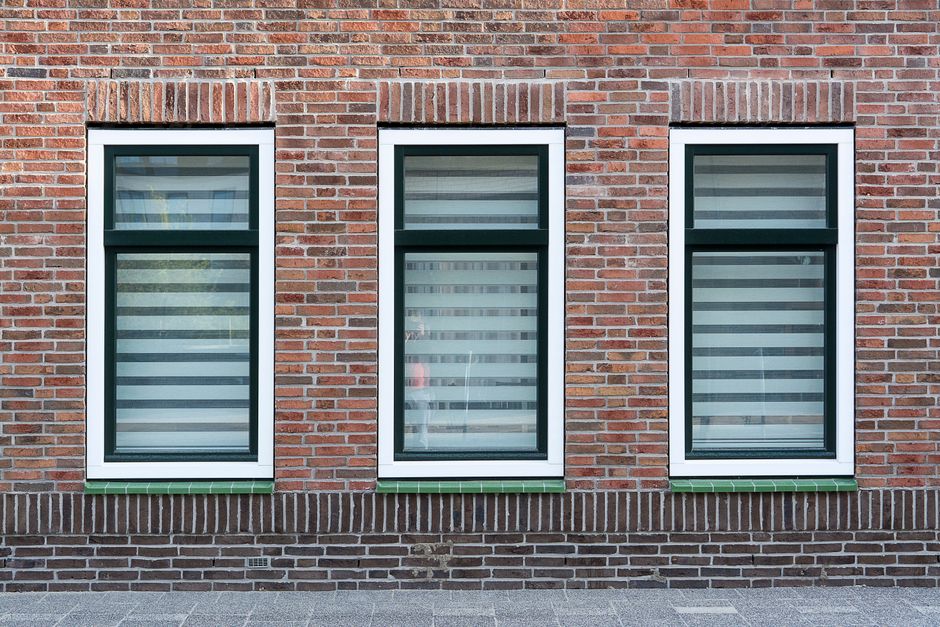
Exterior of aged stone house with wooden ornamented roof and windows with shutters in Riverside, CA

Getting a Riverside house ready before the window crew arrives

2026-10-06

Most of what makes a window day go smoothly happens before the crew pulls into the driveway. A cleared room, a marked opening and a covered floor save more time than any tool on the truck. Houses in Riverside bring their own wrinkles: stucco dust that gets into everything, summer heat that dries sealant and patch compound faster than the label expects, and older walls that hide surprises. This is a walk through the preparation, room by room and wall by wall.

Why does preparation matter more on older houses?

An older house has more unknowns per opening. The frame may be aluminum from the sixties, the sill may have been wet for years, and the stucco may be hollow near the corners. A crew that arrives to a clear workspace spends its first hour finding out what is behind the trim. A crew that arrives to a cluttered one spends that hour moving furniture and then finds out.

Time matters for another reason. An opening that sits uncovered while the crew hunts for a missing measurement is an opening exposed to wind and dust. Preparation shortens the window between old unit out and new unit sealed, which is the period when the house is most vulnerable.

What should be cleared inside?

Everything within a few feet of the window goes. Furniture, curtain rods, blinds, wall art and anything that sits on a windowsill. Floors under and beside the opening get covered, usually with a drop cloth and a layer of cardboard where the crew will be kneeling or setting tools.

Interior trim comes off during the job, and drywall dust is normal when an old frame is pulled. Closing the door to the room and taping plastic over openings into the rest of the house keeps the dust in one place. Air returns and vents in the room should be covered, since dust drawn into ductwork is a long job to clean.

What should be cleared outside?

The crew needs a clear path along the wall: no potted plants, no hose reels, no patio furniture pressed against the stucco. Shrubs that brush the wall get tied back. A ladder or scaffold needs level ground, and a sloped planting bed along a house near the Box Springs Mountains is exactly the sort of ground that makes a ladder unsafe.

Cars move out of the driveway for the day. Stucco work throws dust and drips patch compound, and glass is heavy enough that a dropped unit does real damage to a hood or a windshield.

What is worth measuring and recording beforehand?

Measurements taken before the day guard against ordering the wrong size. Width and height are taken at three points each, since old openings are rarely square, and the smallest number governs. Diagonals are compared to see how far the opening has racked. A difference of more than a quarter inch tells the crew to plan for shimming or reframing.

Photos of the existing windows from inside and out help as well. They show the grid pattern, the opening direction of casements, the trim style and the condition of the stucco around the frame. Those photos settle arguments later about what was there before.

Item to checkWhy it mattersWhen to do it
Width and height at three pointsOld openings are rarely square, and the smallest dimension decides the unit sizeBefore ordering
Diagonal measurementsShows how far the frame has racked and whether reframing is likelyBefore ordering
Sill condition by screwdriver testSoft wood means the sill needs repair or replacementBefore the install day
Hollow spots in the stuccoMarks where the stucco has let go from the lathBefore the install day
Clear path, ladder footingSafe setup and fewer delaysThe day before

How does summer heat change the plan?

In the Inland Empire the sun dictates the schedule. Work on west-facing walls is best done in the morning, before the stucco is too hot to touch and before sealant begins skinning over faster than it can be tooled. Patch compound dries quickly in direct sun, and a return that dries too fast cracks at the fin line. Shade cloth or a wet burlap cover keeps the patch working properly for the first day.

Glass handling changes too. Large panes of insulated glass left in direct sun pick up heat and expand, and a unit carried across a hot driveway is awkward and slippery. Keeping the new windows in the shade until they go in is simple and avoids trouble.

What about pets, kids and people at home?

A window day is noisy, dusty and full of open walls. Pets are better off out of the house, or at least behind a closed door in a room far from the work. Small children should be kept away from the work area, since tools, glass edges and open openings are all hazards.

People who work from home may find the day difficult, since power tools and demolition carry through the whole house. Planning to be elsewhere, or to take calls in a room at the other end, is more realistic than hoping for quiet.

What should be decided on paper before the first cut?

Each opening should have a note: unit type, frame material, grid style, which way it opens and which glass package it gets. A west window may call for a lower solar heat gain coating than a north one. A bedroom window may need to meet egress size, which limits what type can go in. A bathroom window may call for obscure glass.

It also helps to decide in advance what happens if something unexpected turns up. A rotted sill is common enough that the plan for it should exist before the day: who repairs it, how long it takes, and whether the window gets set the same day or the opening gets closed temporarily with a panel until the repair is done.

How does paint and finish timing fit in?

Exterior paint on the new stucco return should wait until the patch has cured, which is longer than most people expect. Interior trim usually goes back the same day, but paint or caulk at the trim edges may wait for a second visit. Planning the painting around the cure time prevents a rushed job that peels in a season.

If the whole house is getting windows, doing the stucco returns and the paint as one block at the end often gives a better finish than patching and painting after each window. The wall faces then read as a unit, and the patches are harder to spot.

What does a good finish look like?

When the work is done, each window opens and closes without effort, the locks engage cleanly, and the interior sill and trim are straight. Outside, the sealant bead is smooth and continuous, the stucco return matches the texture around it, and the weep holes are open at the bottom of the frame. A hose test on the finished window, run gently from top to bottom, shows whether water finds its way in.

Preparation is the quiet half of window work, and it decides how long the house stays open to the weather. A cleared room, measured openings and a plan for surprises are what keep the day short.
Read more →

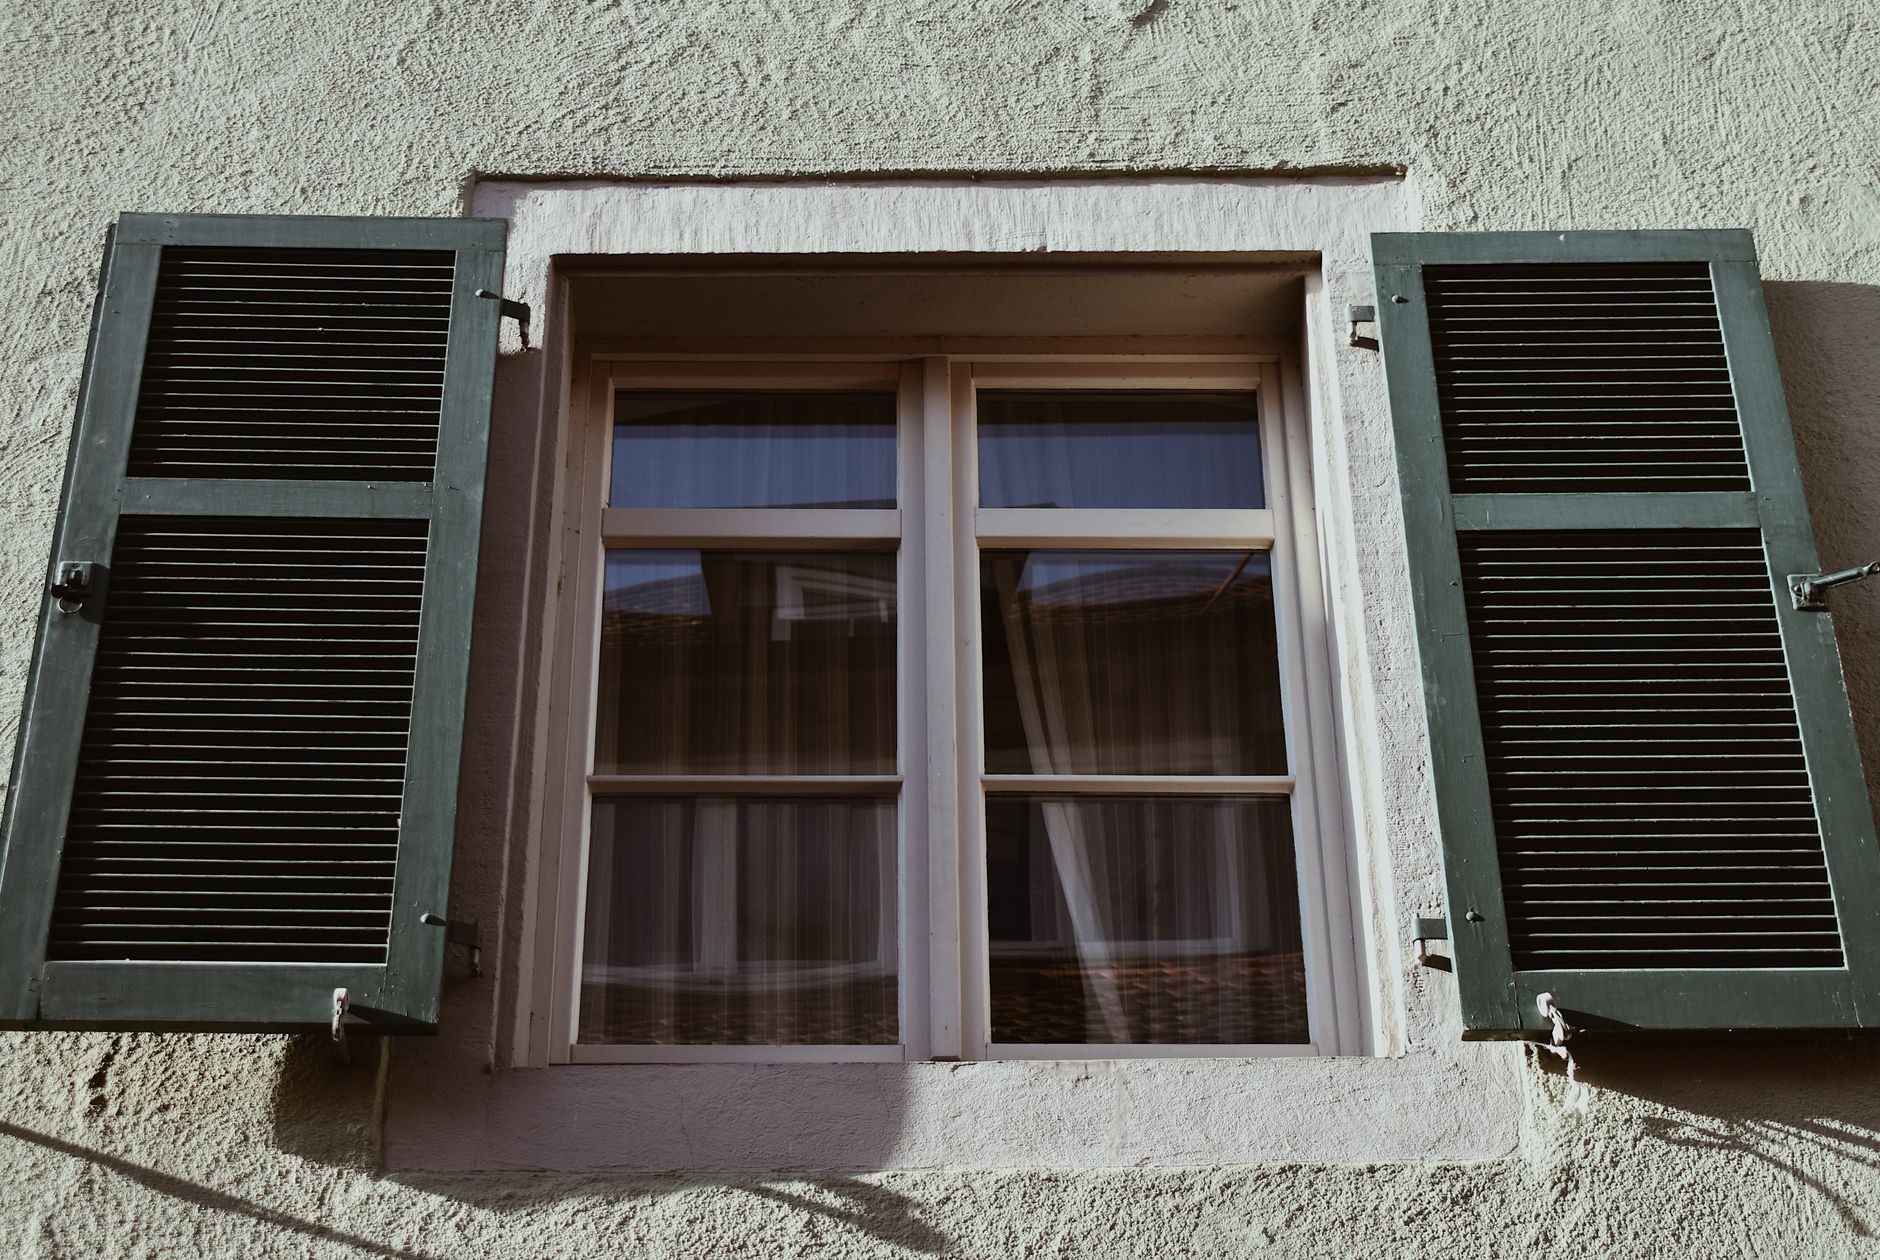
Close-up of a classic window with open green shutters on an aged stucco wall in Riverside, CA

How to tell a window replacement from a new opening in an older Riverside house

2026-10-06

Walk around an older house in Riverside with a tape measure and a flashlight and the walls start to sort themselves into two kinds. Some openings already hold a window, and the question is what to put in its place. Others have no window at all, and the question is whether a wall that has stood for sixty years can take a hole. The two jobs share a name in casual talk, but they are built differently, ordered differently and fail differently. Telling them apart before anyone cuts anything saves a lot of rework.

What counts as a replacement and what counts as a new opening?

A replacement uses an opening that already exists. The wall framing around it was built for a window, so it already has a header, a sill plate and studs placed for that purpose. The crew's task is to remove the old unit, repair whatever water has done to the edges, and set a new unit in the same hole or in a slightly adjusted version of it.

A new opening is a different animal. The wall was a solid stretch of studs, stucco and drywall, and the crew has to cut through all of it. Framing changes, a header goes in where none existed, the exterior skin is cut back, and the interior is patched. Everything about the order of work changes, because the structure has to be rebuilt before any window can be set.

Plenty of jobs fall in between. A common one in Riverside is the enlargement: a small kitchen window over the sink is replaced with a wider one, which means the old opening is cut larger and the old header is swapped for a longer one. That is treated as a new opening for planning purposes, even though a window was there before.

How can a homeowner tell which walls are original openings?

Look at the stucco first. Around an original opening the stucco was applied after the frame was set, so the finish runs right up to the frame and the texture is continuous. Around a cut-in opening there is usually a visible line, a seam where the patch meets the old wall, and the texture rarely matches. Past owners in older neighbourhoods near Mount Rubidoux and the Mission Inn have added windows over the decades, and the seams show it.

Inside, the clues are in the trim. An original window has trim that matches the other windows in the room, same profile and same paint history. A later addition often has trim from a different catalog. Inside the wall, a crew that opens a small section of drywall can see the framing directly: a proper header above the opening, short studs under the sill, and full studs at the sides tell the story of an opening that was framed on purpose.

Why does the difference change the order of work?

In a replacement, the first hour is demolition of the old unit and inspection of what it was hiding. Damage found there sets the rest of the day. Rot at the sill, a frame that has racked, flashing that was never installed: all of it gets repaired before the new window goes in, and the repair is limited to the area around the opening.

In a new opening, the first step is investigation. The wall may carry wiring, plumbing or a brace that cannot be cut. The crew opens the drywall, records what is inside, and only then marks the outside. After the cut, the header goes in, then the cripples, then the sill, then the waterproofing, and finally the window. The same sequence is a few days of work spread over a week once stucco curing is included.

What does each job do to the stucco?

A retrofit insert leaves the stucco alone. It slides into the existing frame and is sealed at the edge, so the wall surface is never opened. A full frame replacement with a nailing fin does require cutting the stucco back, and a new opening requires cutting a hole in it. Both leave a patch to be made.

  • Insert in an existing frame: no stucco cut, sealant at the outside edge only.
  • Full frame replacement: stucco cut back a couple of inches around the opening, then a three coat return.
  • New opening: stucco cut to the framing line, header and sill built, then a larger return that has to blend with the surrounding wall.

Matching old stucco is the hard part. Texture, sand colour and the age of the wall all affect how a patch looks. Riverside County sun fades paint and weathers stucco unevenly, so a patch that matches on the day it is finished can stand out within a season. Painting the whole wall face, corner to corner, is the usual way to hide the join.

Which windows suit each kind of opening?

A replacement in an existing opening is limited by the opening itself. A double hung unit takes the place of an old double hung, a slider replaces a slider, and a casement can go where a narrow awning used to be. The frame material is the free choice: a vinyl window is the common pick, a fiberglass window holds up better in heat, and a wood window or clad window suits a house where the original look matters.

A new opening gives more freedom, since the crew frames to the size of the chosen unit. A picture window can go in a living room wall that used to be solid. A pair of casements can bring air into a hallway. A bay window or bow window can project from a front room, though those need extra support and a roof, so they are a separate kind of project.

What goes wrong most often?

In replacements, the common failure is skipped flashing. The old window had none, the new one is set into the same sloppy opening, and the first heavy rain finds the gap. The fix is to treat every replacement as if it were a new install at the edges: sill pan, tape lapped from sill to head, and sealant in the right places.

In new openings, the common failure is the header. A header that is too shallow sags over time, and the window above it starts to bind. The drywall cracks at the corners of the opening, and the stucco cracks outside. Sizing the header to the span and the roof load avoids all of it.

A smaller failure that shows up in both jobs is the stucco return. A patch that dries too fast in Inland Empire heat cracks along the fin line, and the crack lets water behind the stucco. Misting the patch and keeping it shaded for the first days is cheap insurance.

How do local conditions come into it?

Riverside sits in a valley with hot summers, dry autumn winds and occasional hard winter rain. Houses near the Santa Ana River have older foundations that have moved over the years, which is why openings in those walls are so often out of square. Houses on the slope toward the Box Springs Mountains catch more afternoon sun and wind. Both conditions affect what the crew finds when the old window comes out, and neither can be judged from the street.

University of California Riverside and the neighbourhoods around it have a mix of mid century houses and newer infill. A single block can hold a stucco ranch house, a plaster bungalow and a modern stucco box, each with a different wall build. Reading the wall matters more than reading the date on the permit.

Is a permit involved?

A like for like replacement in an existing opening is usually treated lightly by the city. Enlarging an opening or cutting a new one touches the structure, so the city's building department generally wants to see it. It is worth asking before any cutting starts, since a header change in a bearing wall is exactly the sort of work an inspector expects to review.

What should be decided before the crew arrives?

Which walls get windows, which get inserts and which get full frame replacement is better settled on a walk-through than on the day. Marking each opening on a sketch, with the unit type next to it, keeps the order clear. Unusual openings, such as a window that has been enlarged, a painted-over frame or a stucco wall with a visible seam, are the ones worth discussing first.

Replacement and new openings are different jobs with different risks, and sorting each wall into its category before the first cut keeps the work in order.

Read more →